Tips on Making a "This is your life" book
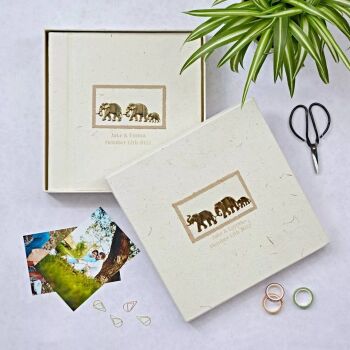
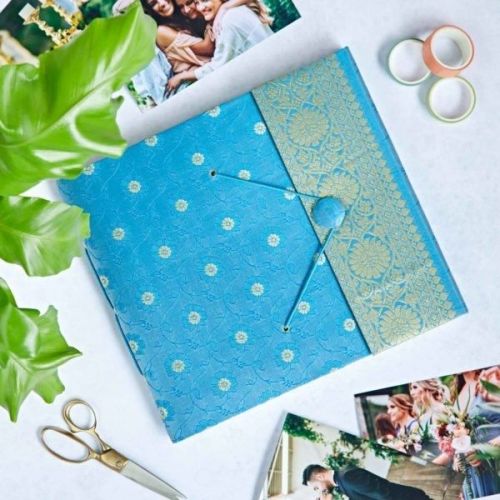
Making a "This is your life" book - some tips for you... - Decide whether you use a traditional paper photo album or a digital one. One option is to allow a couple of extra pages to add in any additional photos later.
- Wash your hands before handling the book. Sounds mad - but worth a mention. If you have lots of people handling it over time, it could get marks on it.
- Don't stick things down in the photo album immediately. Lay everything out as a practice run so you can work out what goes where and move it. Do the same if you're working on line - get an idea of what you want to include, and what will go where.
- Vary the entries. See what you get from friends & family and use different methods to record your own entries - poetry, photos, prose, a letter, rap, limericks - we used them all.
- Give yourself plenty of time to do it. We gave ourselves about 6 months to contact people and pull everything together. We had people send stuff to my sister and I, well away from the family home, and made sure they only had our phone number!
- Get an idea of the size the book will be before you start. It's no good having people send you letters etc on pages that are too big to go in the book, so give them a guideline of size paper you're looking for.
- If you're working on a traditional photo album where you stick things in, remember that you will need to leave a small gap between the centre of the book and the pages either side - about an inch or slightly more - when you stick things in. Otherwise the pages won't turn.
- And finally - leave some pages in it blank. You'll always get people who couldn't manage to send their stuff to you in time, so your loved one can have the pleasure of adding it herself. And it gives your loved one a chance to add anything of her own.
The photo albums come in a number of different sizes Visit Paper High's range of photo albums here An example
This poem was written for our Mum on the occasion of her 70th birthday by golden retriever Tammy (by then departed, but nonetheless much loved by our Mum), although the photo isn't of him. Include lots of memories of family times - in our case, the dog and my father in the shower to get clean after muddy walks. (Mickey was our cat.) Now this example looks a bit bland on its own, but we used paper with a nice background to print it on, which set it off against the book's pages. You can easily add a page border if you want to. How about this Ceramic Tile With Stand available from Snapfish ? for £13.99
| |
We produced this page by - Writing up what we wanted to say on our pc
- We got some paper - not your ordinary photo copy paper as it doesn't look too good.
- We then added the photo. You can do this before printing if you're scanning old photos into your pc or laptop, or aftewards. We printed the page and added the photo with glue afterwards
- You may need to reduce the size of the page to fit into your book - use a guillotine rather than scissors for straighter lines
In many cases you can just stick letters & photos people send you into the book with a small comment written by you if needed underneath them Enjoy the result! Take a photo of your loved one receiving the book, and you can add that picture to its pages. Open a bottle of bubbly or similar to celebrate & mark the occasion. The book we gave my Mum is out on display on the sitting room to this day, 5 years on. Every time we visit, I look through it and I know my Mum does, regularly. The pleasure it gives everyone involves, from those you contact to the putting it together bits, was immense. And it helps the recipient think about what else they want to do with their life ahead - they can take a good look back - and now a good look forward. And I'll tell you another benefit I found from doing it - it certainly makes you think about your own life, what you want to do with it and in it, and the legacy you want to be able to leave behind (and I don't mean financial!) |